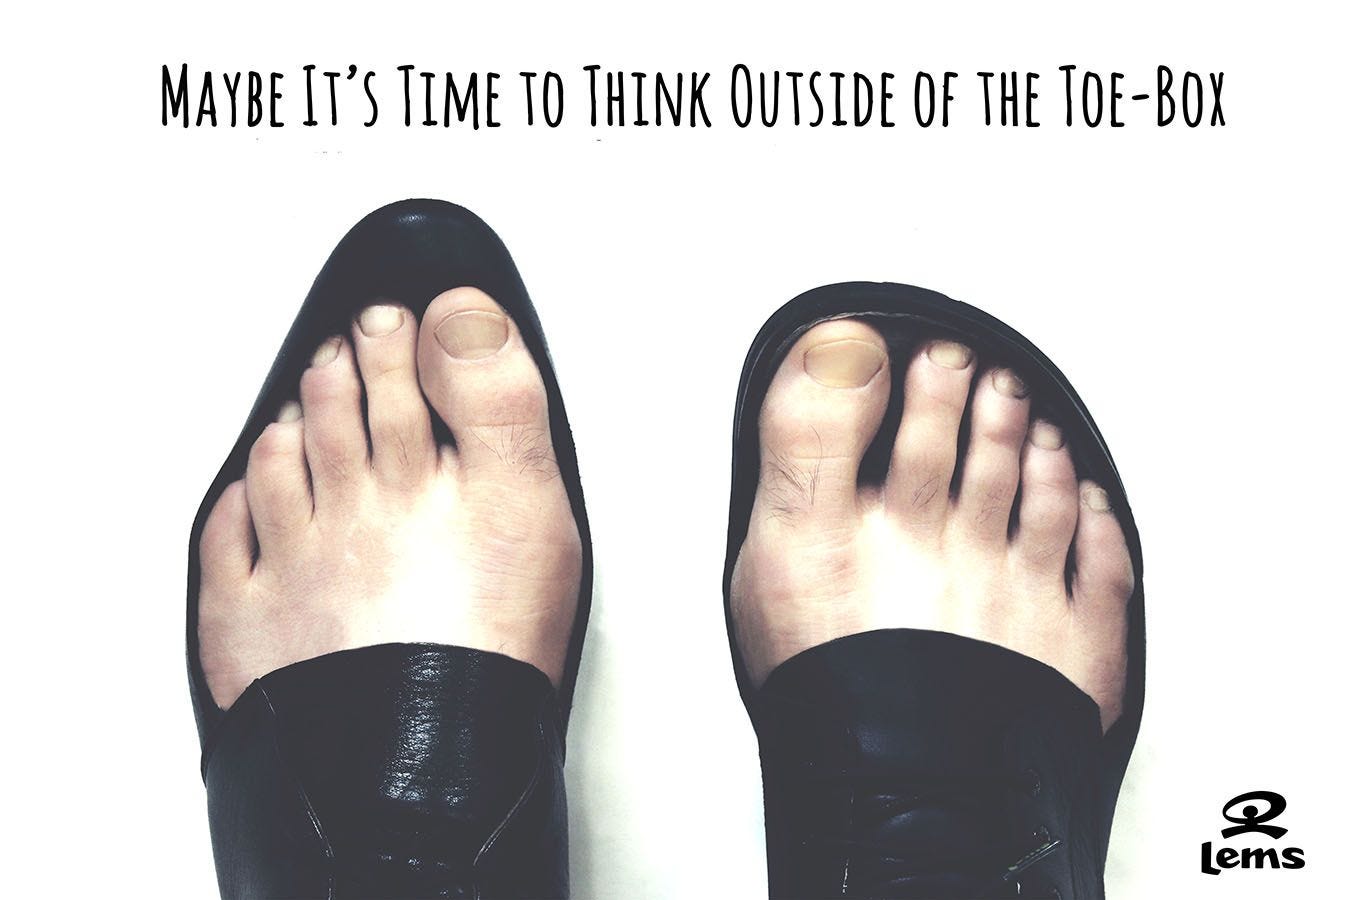
Barefoot shoes (or minimalist shoes as they are also called) are becoming more popular in mainstream culture, as people see for themselves the whole-body benefits of wearing a shoe that is foot-shaped and not shoe shaped. In the image below, we have a shoe-shaped shoe to the left and a foot-shaped shoe to the right. Thanks to Lems for this great visual.
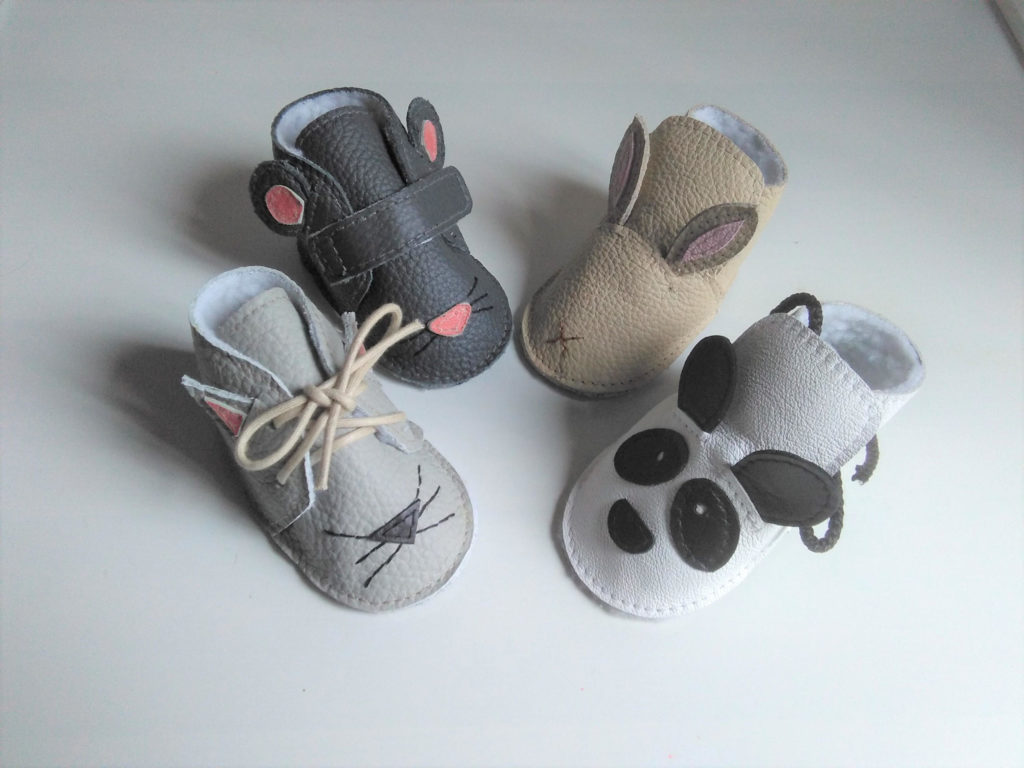
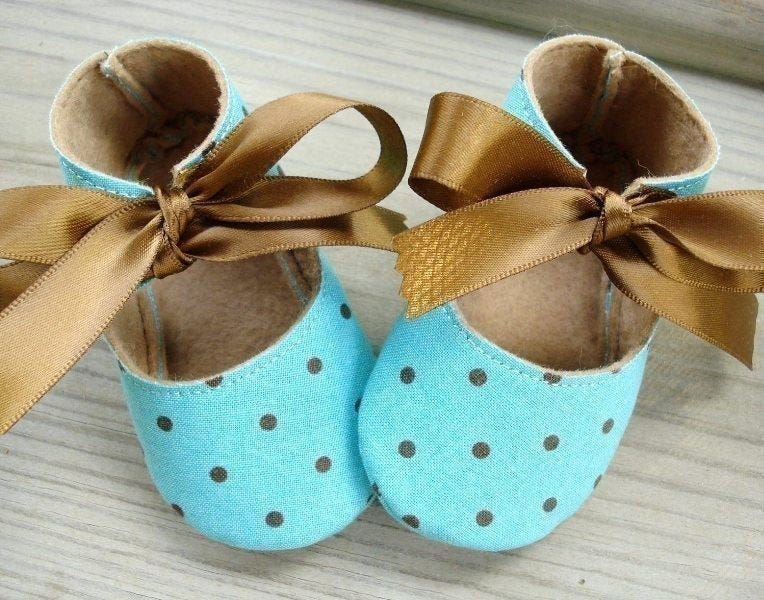
Between packing to go back on the road, getting on the road and campervan breakdown, I have (somehow!) had the opportunity to interview a great bunch of ladies from a Facebook group named DIY Moccs & Minimals, who make shoes (especially barefoot styles) for themselves and their children. The shoes they make are not only aesthetically beautiful but fully functional. I found it intriguing to exchange with them, and whilst I haven’t gotten round to making a pair myself (i will though!), I thought it might be interesting to showcase the talents of these mums.
Table of Contents
Why make your own shoes?
To begin the conversation, I asked the ladies what sparked their interest in making their own shoes. Hope Bartel’s first attempt at making shoes was in Autumn of 2014 when she realized that after a long summer of wearing Xero Shoes DIY Feeltrue Kit sandals almost exclusively, her winter boots were going to kill her feet and back! So she started shopping around online for minimalist boot options, and they were way out of her price range (as a side note, the situation for barefoot boot choice has already improved since then). Hopes background is in visual art and her dad had always DIY-ed things, so she thought,
“Hey, I could probably make a passable pair of boots myself.”
Consequently, she drove to the local Tandy leather store and bought a bag full of leather scraps and a couple of big pieces of suede leather, an awl, some leather needles, and some artificial sinew. She draped and wrapped the suede around her feet to figure out the shapes she needed and kept on improvising from there. She used some wool felt from the fabric store for lining and rubber flooring material she found inexpensively online for the soles. That first pair of boots looked very homemade, but they were incredibly comfortable and saw her through a whole winter.
Lena Gillan has always loved walking in bare feet, so wanted a way to keep the barefoot feel, but with ground protection. For Ana Marinova, the initial idea of making shoes was fascinating to her, choosing the desired fabrics and colors and so on.
Necessity sparked Svea Gamla’s interest, as she wasn’t able to find what she was looking for in stores. The cost of healthy footwear was a primary factor for Hannah Lamm. As a family of 6, she has a lot of feet to cover! Aside from being sold on barefoot principles, she also really values handmade over mass-produced shoes coming from the other side of the world. Sara Reimold always loved interesting shoes but could rarely find ones that were comfortable and affordable. Sara makes a lot of her own clothes and decided that she could probably learn to make shoes herself too. Like Hannah, her interest grew as her family grew!
Patterns or freestyle?
Hannah uses various patterns, as she felt with a large family it would be time-consuming to design different patterns for each child. She primarily uses the TipTaps pattern (discussed later) for her son and appreciates the precision and detail of the instructions, and final look of the shoes, and how it’s highly customizable to the shape of each foot.
Ana has used the Barfoot pattern (discussed later), for the most conventional-looking shoes with the barefoot qualities of a wide toe box, lightweight, zero heel and as flexible as you want them to be! Svea uses patterns to learn the techniques but then alters to suit her needs. Hope and Lena design their own patterns and told me that all that’s essentially required to get started is leather or fabric scraps, scissors, needles, and a hole puncher!
“It sounds like Blue Peter really!”
Hope does find the process challenging, but that’s part of why she likes it. She enjoys visualizing different styles and designing for the comfort of her feet and her kids’ feet, and she has discovered she really enjoys working with leather.
Sara creates patterns, as well as using existing ones. She has a pair of lasts (shoe-shaped molds) that she uses to make patterns for herself and her daughter. For her boys, however, she generally follows a pattern, often TipTaps for “regular” shoes or Twig + Tale boots (discussed later). Hannahs favorite pattern is the Twig and Tale Tie-Back Boots. I would agree with Hope, when she stated that she prefers to have all-natural materials touching the foot whenever possible, for reasons of breathability and comfort. Like myself, she also strives to keep her use of plastic to a minimum, so that extends into her shoemaking endeavors as well.
Sewing Machine or handsewn?
The ladies all agree that an inspired beginner seamstress can follow a pattern, and a sewing machine is not necessary, although Hannah adds the tip that if you need to sew by hand, to try to choose a shoe style and pattern with as few seams as possible! Sara does state that the trickiest part about working with leather is that holes stay forever, so it’s very difficult to go back and fix a mistake without it compromising the look or function of the shoe.
Pricing of DIY Shoes
Hannah stated that her shoes typically work out to be about $10-$15 per pair. She likes to use thrifted leather jackets and has bought bundles of leather scraps. Good soling materials are the major expense (rubber and contact cement), but some people get around that by using things like recycled bike innertubes or yoga mats. She likes her shoes to look polished and professional, and she feels like good soling helps with that. Sara agrees with Hannah that whilst costs are different for each pair, it is usually not more than $10-$15. She also buys large pieces of leather scraps (for the uppers) from a local upholstery store for about $8 a pound, and she uses vegetable-tanned leather for soles, usually finishing with toughtek on the bottom to prevent sliding.
Durability
Everyone felt that DIY shoes typically hold out well, even the winter styles. Hannah informed me:
“If it’s very slushy out my kids put on their waterproof boots. I did not attempt any major weather-proofing. But, I will say that I am surprised at how warm our toes stay in our wool & leather boots! No one complains of cold feet! I do occasionally need to re-glue spots around the soles, but by-and-large they are holding up great.”
Sara affirms the importance of durability for kids’ shoes. They scuff the toes, slide, drag their feet, jump and climb…for this reason the sole needs to be really solidly put on, more so than on adult shoes.
Advice for Beginners:
Hannah’s advice:
“I would say not to be scared or intimidated. I made simple sandals years ago and then thought about making actual shoes for a year and a half before I ever attempted it because I was so intimidated. Assess your skills and materials, decide what kind of shoe you are interested in making, look for a pattern, and go for it! And ask questions. The “maker” community in general is very friendly and open.”
Sarah’s advice:
“I guarantee you will make some pairs that just don’t look or work the way you hoped. But practice makes perfect and with a little persistence you can have an addictive and useful hobby. I absolutely love being able to make comfortable, inexpensive, personalized, cute shoes for my family. It’s very satisfying. And it doesn’t take a lot of expensive tools or a separate room to do it. Most of my tools fit in a small box.”
Hope Bartel has allowed me to detail her pattern making process for anyone interested in drafting their own pattern.
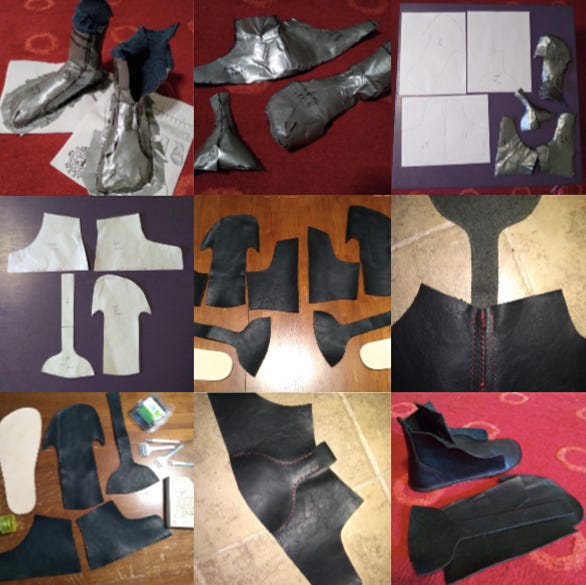
- Step 1: Put on a pair of socks you’re about to toss. Stand on a piece of paper. Use dozens of short pieces of duct tape to cover your foot up past where you want the edges of the shoe to go and down onto the paper. Finally, use a pen or permanent marker to sketch the different pieces of your shoes onto the tape (e.g., I drew side pieces on one foot and toe/tongue and heel pieces on the other foot).
- Step 2: On some part of the duct tape you won’t be using for your pattern, cut a slit far enough to wiggle your feet free. Cut out the pieces you need to draft a pattern.
- Step 3: Layout the duct tape/sock pattern pieces as flat as you can (cut little slits as needed, like in the piece that goes over the toes) and trace around each piece on a sheet of paper.
- Step 4: Smooth out the lines you’ve traced and cut out your paper pattern. Make adjustments as needed and note where you need to add space for stitching.
- Step 5: Trace around your paper patterns onto the leather you’re using, paying careful attention to lefts and rights. My design is for unlined leather uppers, hence not needing a seam allowance everywhere. Usually, I make the pattern without, so I can add as needed on the leather and have the pattern line to follow for stitching.
Note: You can use masking tape instead, but it kinda fell apart on me when I did. Duct tape is a little bit overkill, but comfortably sturdy.
List of Pattern Makers:
Online Webstores:
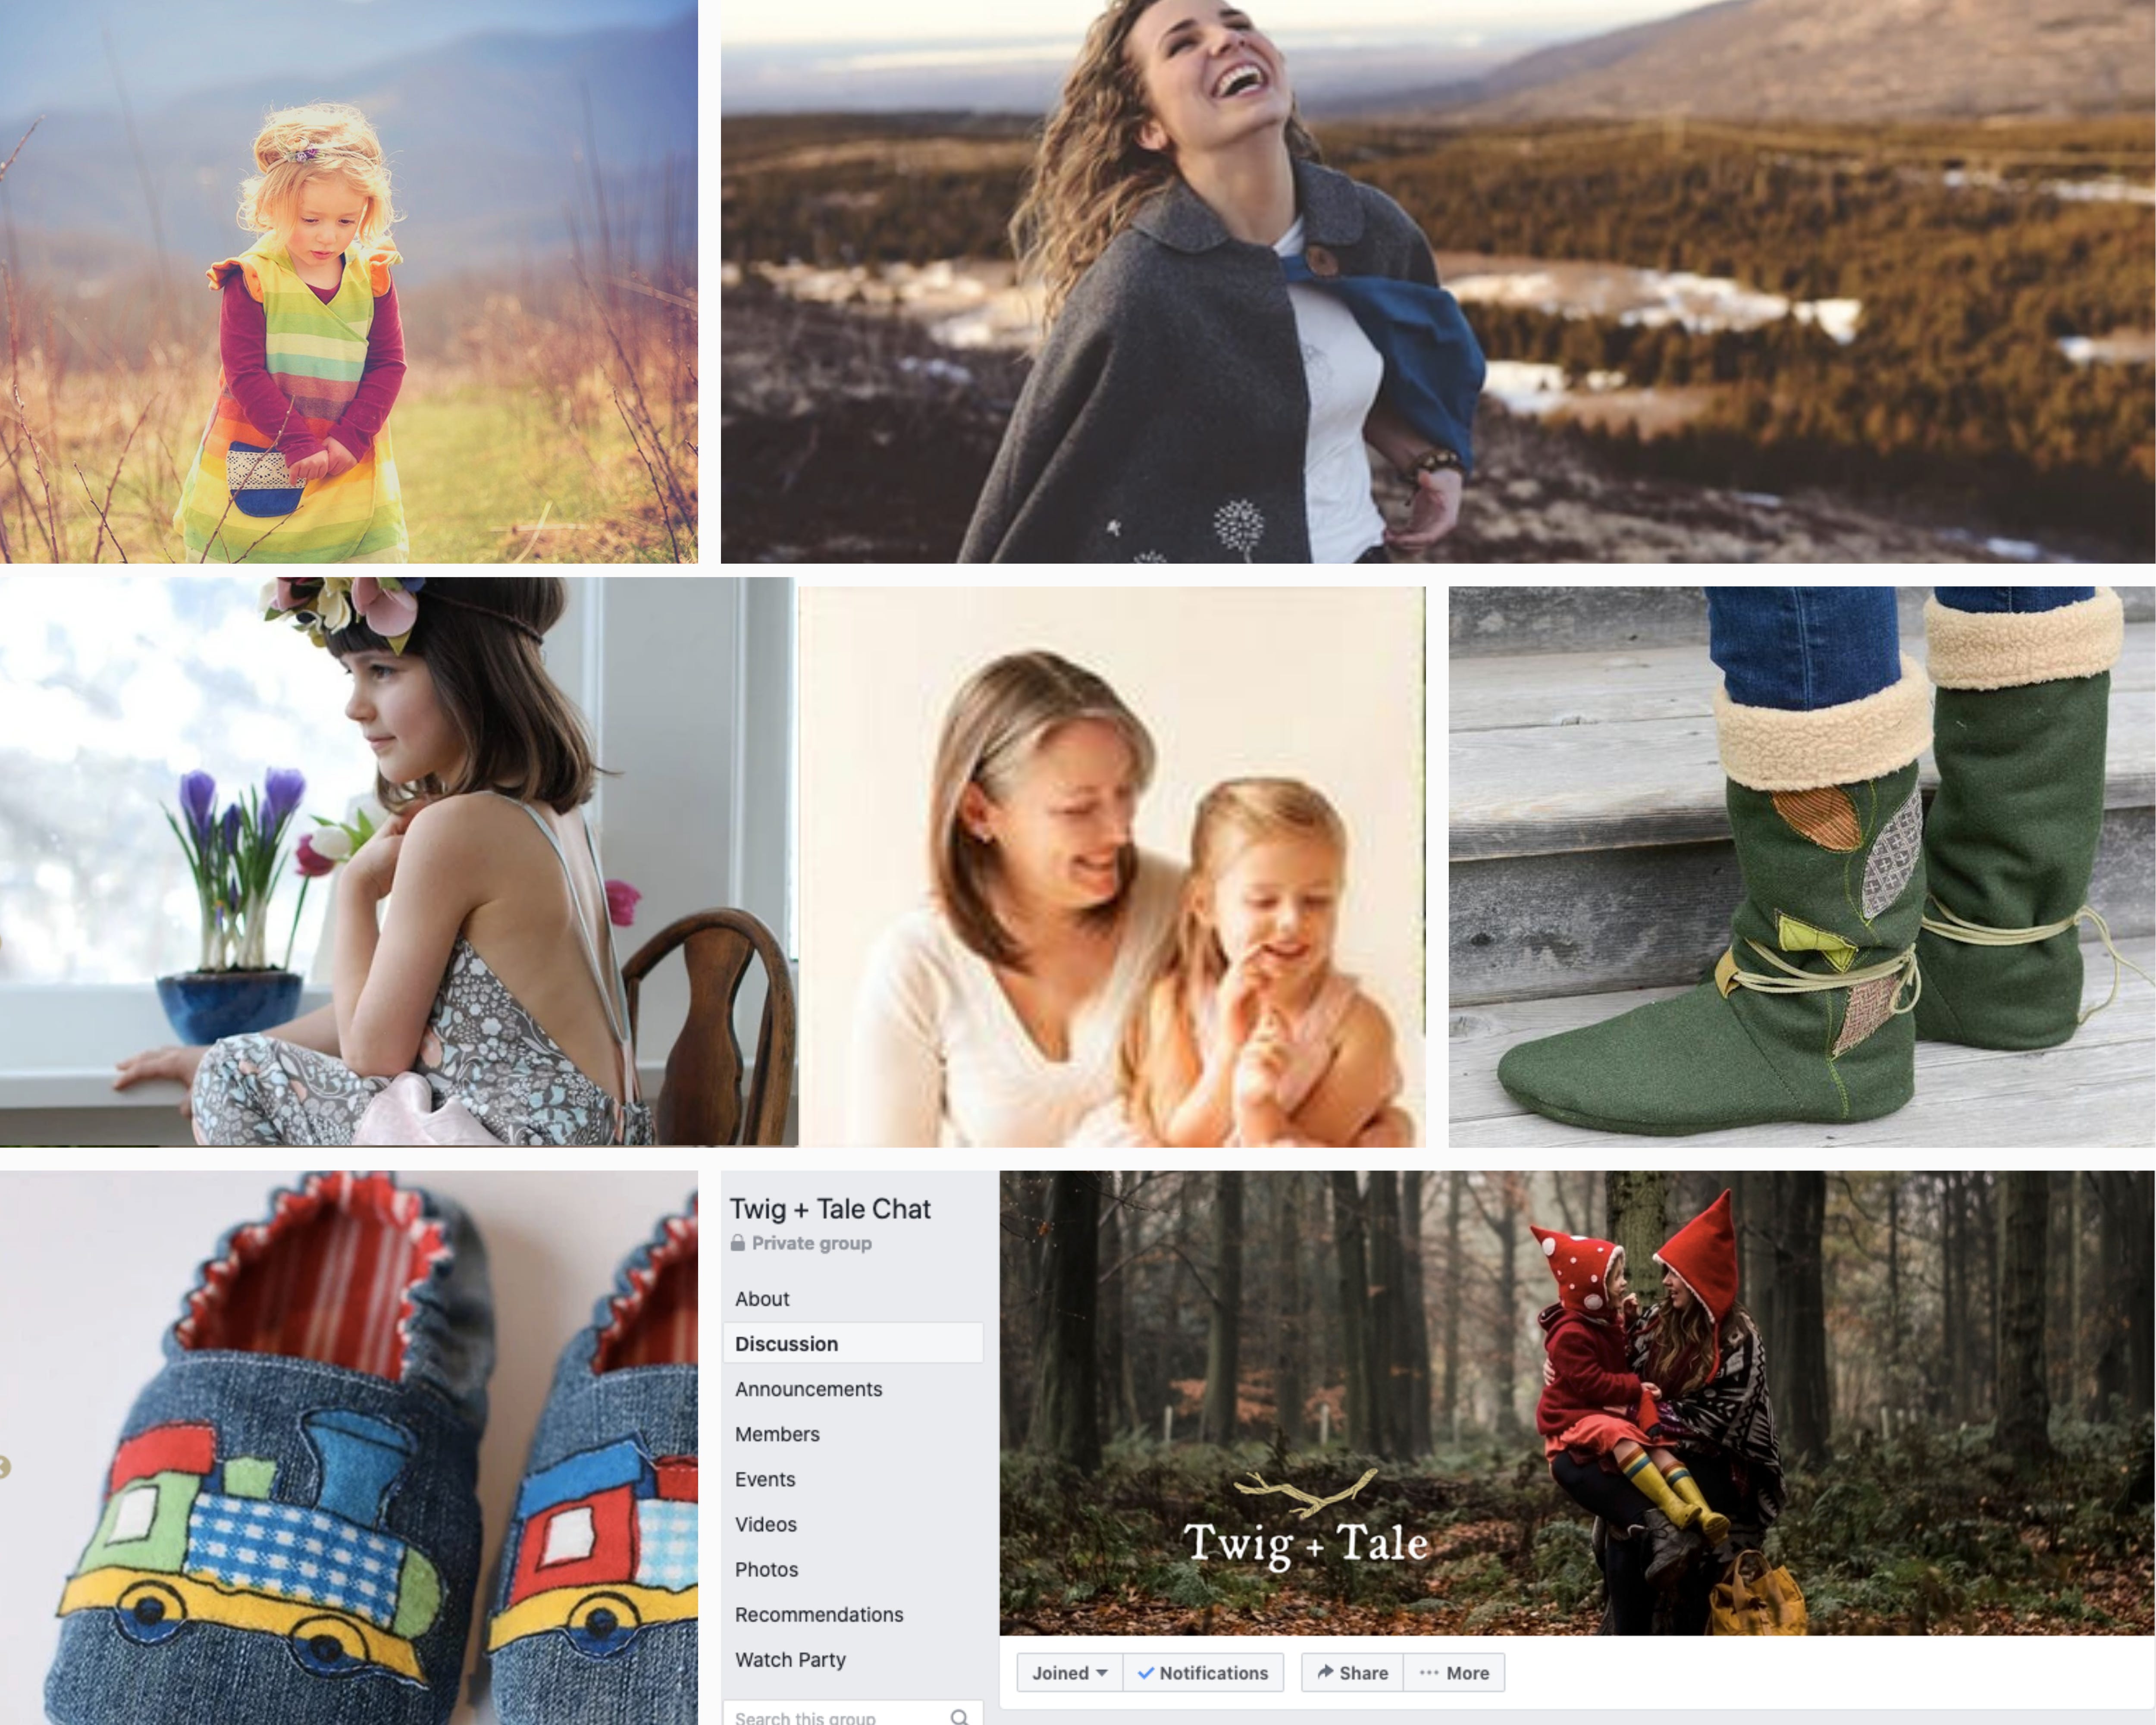
- Twig and Tale (New Zealand Based, with English patterns)

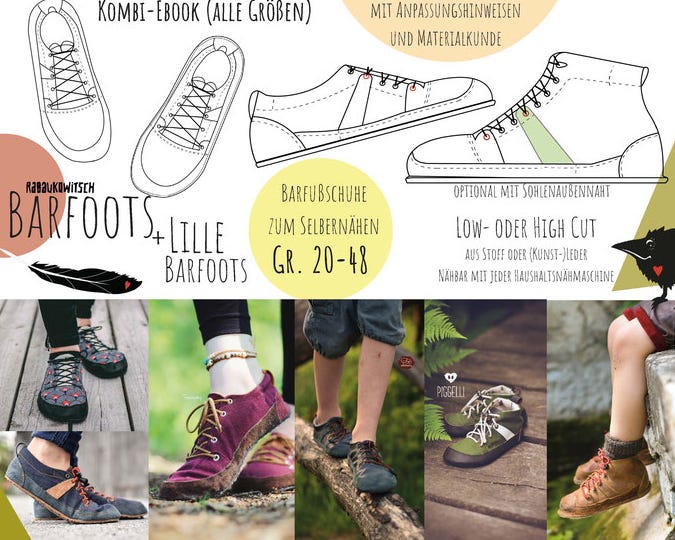
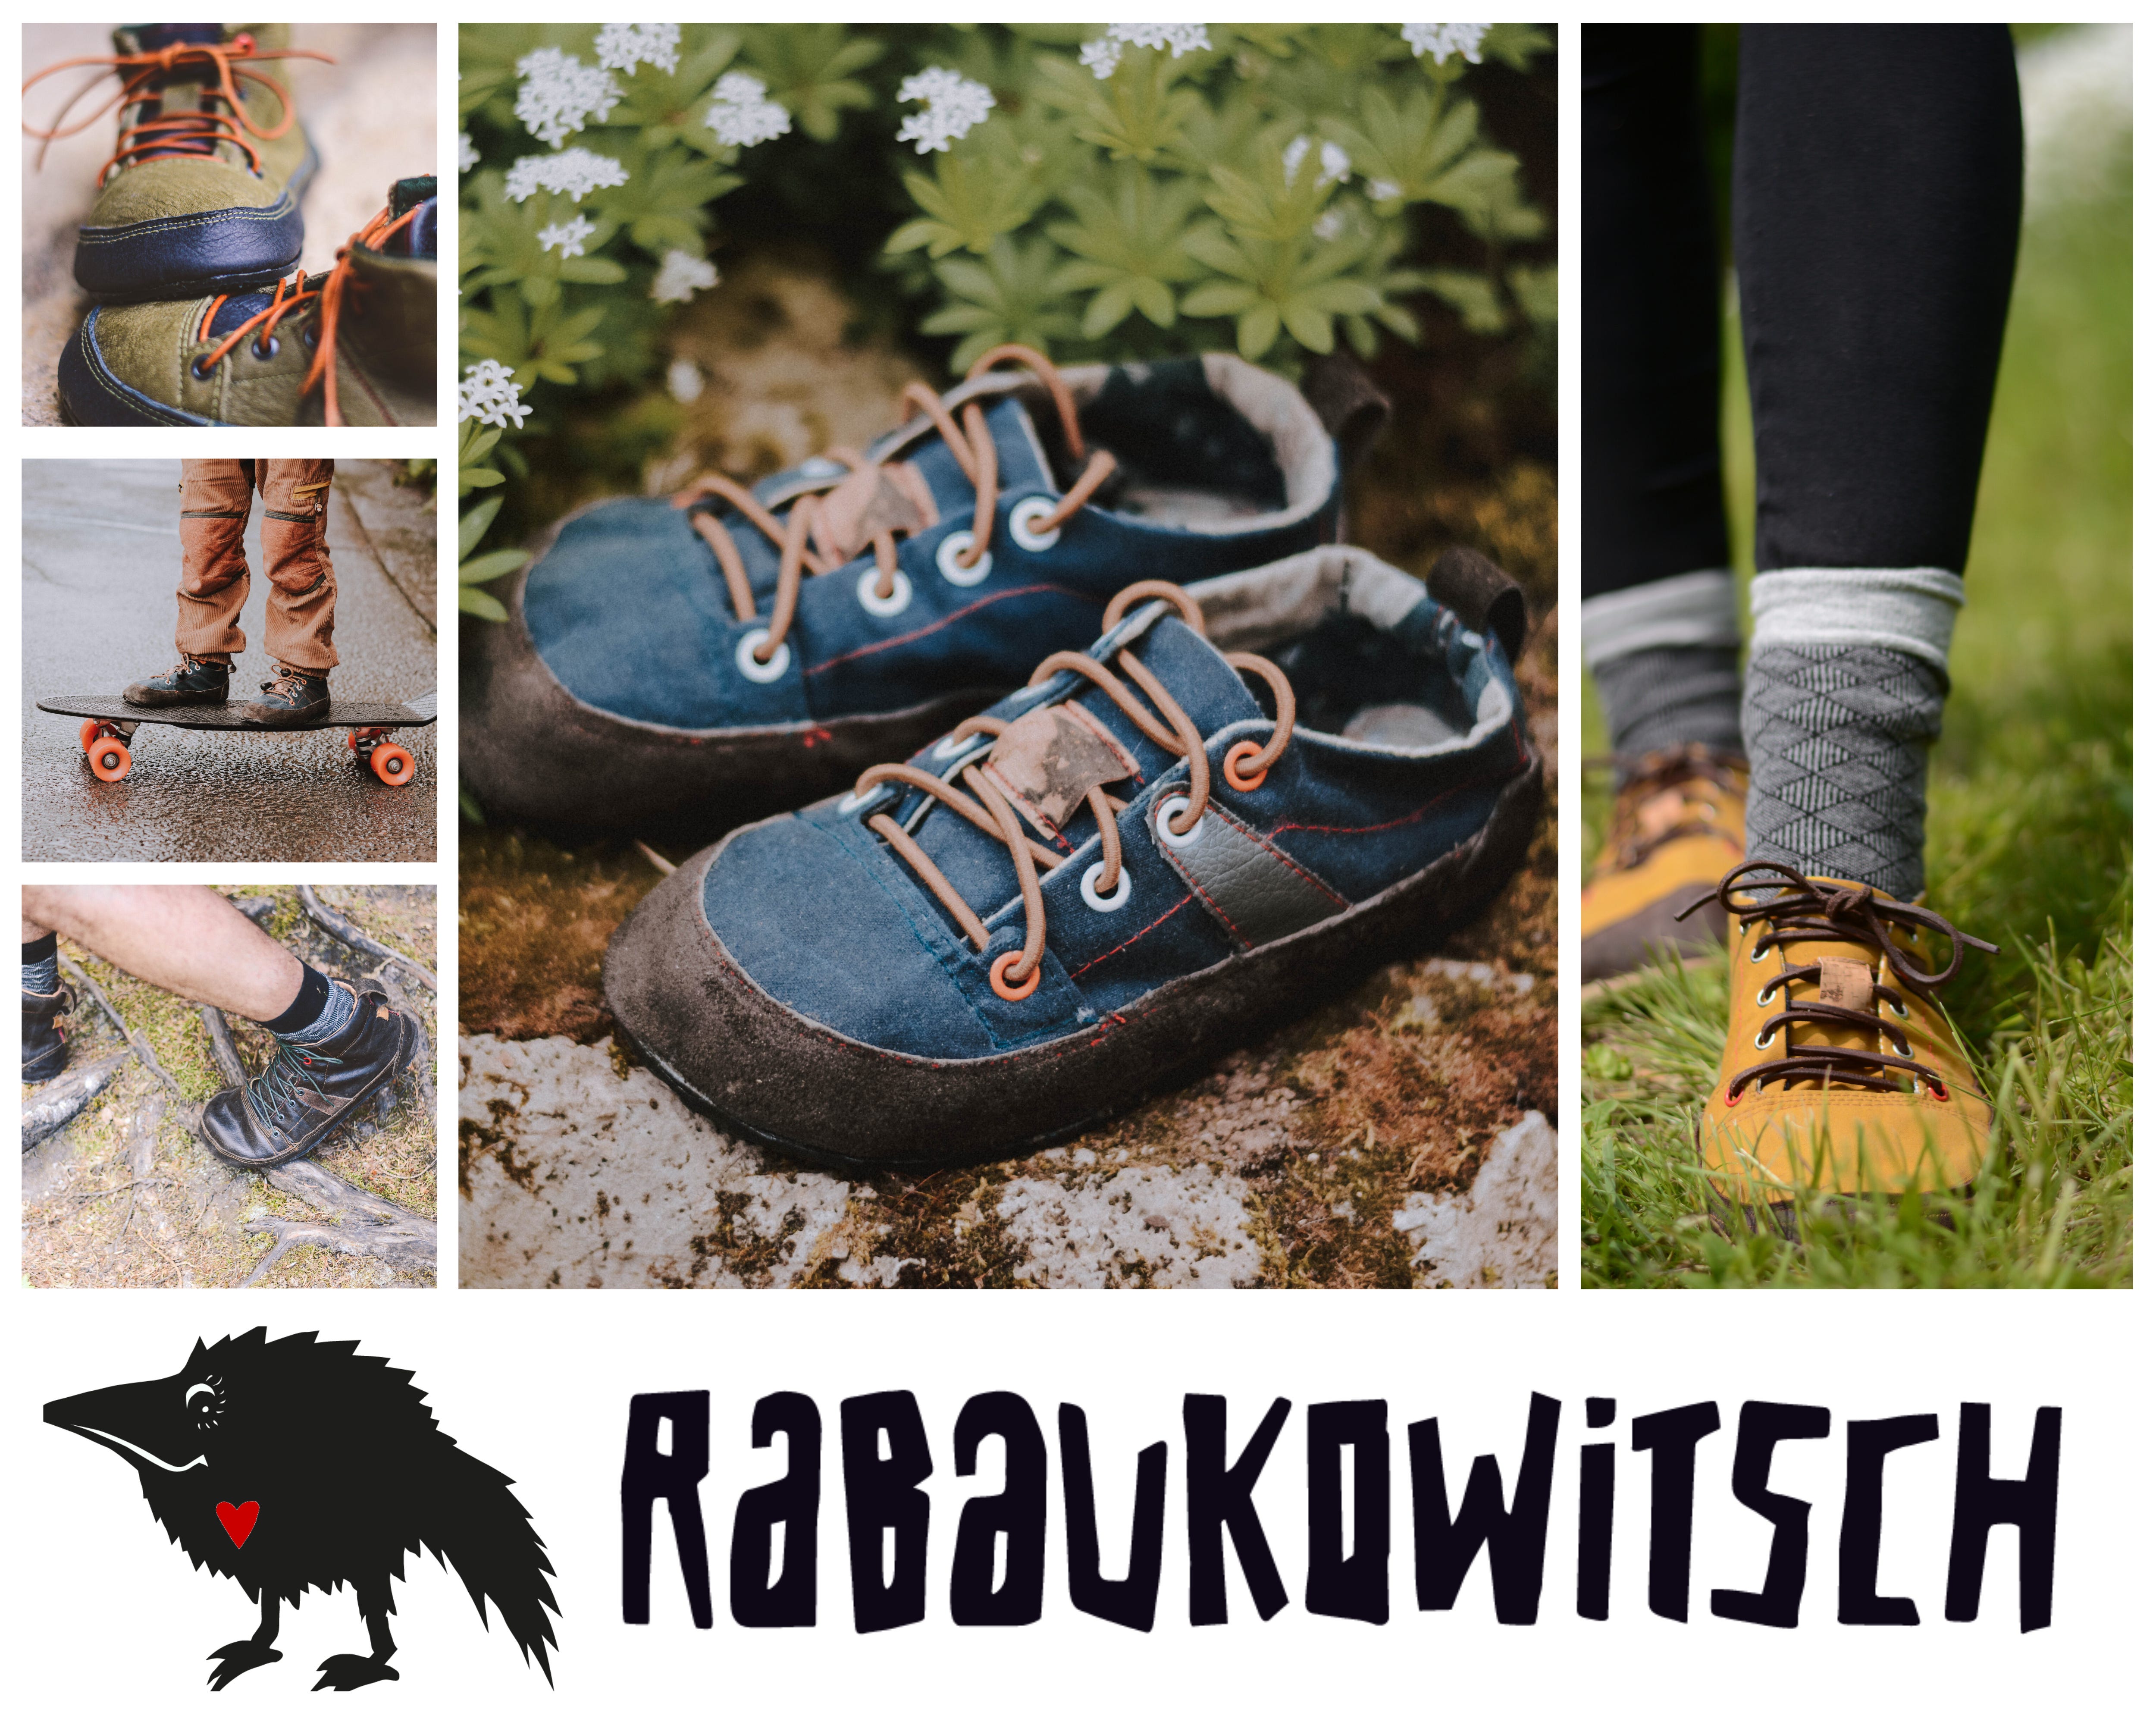
- Rabaukowitsch (German based, with English patterns)
Etsy Pattern Makers
- Nuria from Nurimu Patterns makes leather patterns not only for baby shoes, but also for stylish bags and wallets
- Mary from Precious Patterns :
“I have been sewing since I was twelve. I have a bachelor’s degree in Advertising Design from the University of Maryland. When my children were young I sold my original designs to craft, sewing and quilting magazines as a way to stay home with my children. Eventually most of the magazines went out of business and I had to find a new way to be creative. I found Etsy in 2008 and opened up a shop selling onesies and baby shoes. People loved the baby shoes and kept asking me if I would sell a sewing pattern with instructions so they could make the shoes. At that time, not very many shops were selling sewing patterns so I decided to give it a try and created three shoe patterns. They started selling the first night I posted them on Etsy. Over the years, I have continued to come up with new shoe toy sewing patterns for babies.”
- Annie from Sew U Can Patterns :
“I started making soft sole shoe patterns for my daughter when she started walking because nothing fit her feet and I refused to force her into a too narrow baby shoe. I’m largely influenced by the work of Katy Bowman.”
- Summer from IThinkSewDesign has been selling patterns on Etsy since 2017
Interview with Pattern Makers
Inga Langhans (Rabaukowitsch) and Lisa Spearman (Twig and Tale)
What sparked your interest in making your own shoes?
Inga:
At the moment barefoot shoe brands are sprouting out of the ground. I have tested various brands and found that barefoot shoes are much easier to make than conventional shoes because of their minimalism. I was not satisfied with the price-performance ratio of most of the brands I have bought so far, specifically the durability and weather resistance. I thought: I’ll just give it a try.
Lisa:
I wanted to make some warm slippers for my wee girl and I had a lot of 100% pure New Zealand wool blankets at my disposal, so I set to work creating a pattern where I could utilize this beautiful fabric. After such an enthusiastic response from everyone about the patters, we then created the animal versions of the shoes and boots, and the adult boot versions too.
Is the process difficult? Do you need to be an experienced seamstress?
Inga:
Frankly, no. Well, it is not harder to sew than other projects, the principle is actually quite simple. But you should be able to handle your sewing machine and know the materials you want to use. It is very important to work very accurately and to plan a lot of time. Especially cutting is very important.
Lisa:
Both patterns are suitable for a beginner/adventurous beginner. If you can use a sewing machine to sew a straight line and a curve, then you can make either of these shoes/boots!
Do you need a sewing machine?
Inga:
Yes, depending on the material you want to use for your shoes, your machine should be able to sew several layers of it. Usually, a domestic sewing machine is sufficient.
Lisa:
I find it easier and faster to use a sewing machine, but either of them could be sewn by hand if desired.
What aspects of a shoe are most important for a child’s foot in your opinion?
Inga:
Many children inadvertently wear shoes that are too small, as the shoes are often smaller than their size indicates. It is important that children have at least 12 mm of room to roll in the shoe. 18 mm is perfect if the child should also have some room to grow. Furthermore, a shoe should be adapted to the natural shape of the foot and not the other way round.
The width of the shoe should fit the foot and not simply be wide per se. A shoe that is too long and too wide is just as bad for the foot and walking as one that is too tight. Therefore my pattern contains detailed instructions for individual fitting.
Lisa:
I wanted footwear with a wide toe box, flexible natural materials for sole, easy to get on and off for small children, and fully lined so no exposed seams on the inside to irritate.
How much do they work out at per pair?
Inga:
This is difficult to generalize and depends very much on the materials used. Depending on the size, shoes can be upcycled well, e.g. you can sew shoes out of old leather clothes. Also, the furniture industry often has cheap leftovers to give away. If you want to use new eco-certified leather, it will, of course, cost more.
Apart from the material costs mentioned above, you will need sole plates, shoemaker’s glue, eyelets, and laces. That is about 20 – 30 Euro additionally. But this is the first purchase and the material is enough for several pairs of shoes. The most expensive thing about shoes is your working time.
Lisa:
Because they use such small amounts of fabric, I mostly use scraps from other projects. I generally use leather for the soles which I cut from old garments from the thrift store, so they are very inexpensive to make.
How do they hold up in winter weather/rain?
Inga:
According to the used material like every shoe.
Lisa:
These were initially designed as indoor shoes/boots however they have been successfully made outdoor-friendly by many many customers by using different types of sole material.
Any advice for anyone starting out?
Inga:
Take enough time and work with an alert mind. Especially the cut for two mirror-inverted shoes requires a lot of concentration. Don’t expect a miracle with the first shoe, usually, it takes some practice to sew a nice pair of shoes, even if you are an advanced sewer. This can be sobering. But when it comes to sewing shoes, we are all kind of beginners! Join the Rabaukowitsch community for more support!
Lisa:
Give it a go! Making footwear is such a rewarding and transformational experience and you can start out with a simple basic version first and work your way up into more complex versions as you go. For more support, join the Twig + Tale community where 30k members are happy to share experiences and advice.
Thanks to Hope Bartel, Lena Gillan, Ana Marinova, Svea Gamla, Hannah Lamm, Sara Reimold for their wonderful contributions to this post!